Miss camping? Here's how to bring camping to you
Time to dust off your tent and get the marshmallows ready, reporter Mark Robinson shows and tells us how we can still camp during the quarantine
Backyard camping is a great way to get into the somewhat wild parts of Canada while we all have to stay quarantined thanks to COVID-19. Well, at least as wild as your backyard gets. Mine can get a bit nuts when the dog chases squirrels, but that’s about as bad as it gets.
If you want to follow my example, it's surprisingly easy to get a campsite set up in your backyard.
Step 1: Checking Equipment and Getting Ready
You’ll need the regular type of gear that you’d take to a campground; tent, sleeping bags, sleeping mats, etc. What you may not need is a camp stove, toilet paper (now that it’s available again), soap and shampoo, towels, and other things that are available at home (your house will only be steps away).
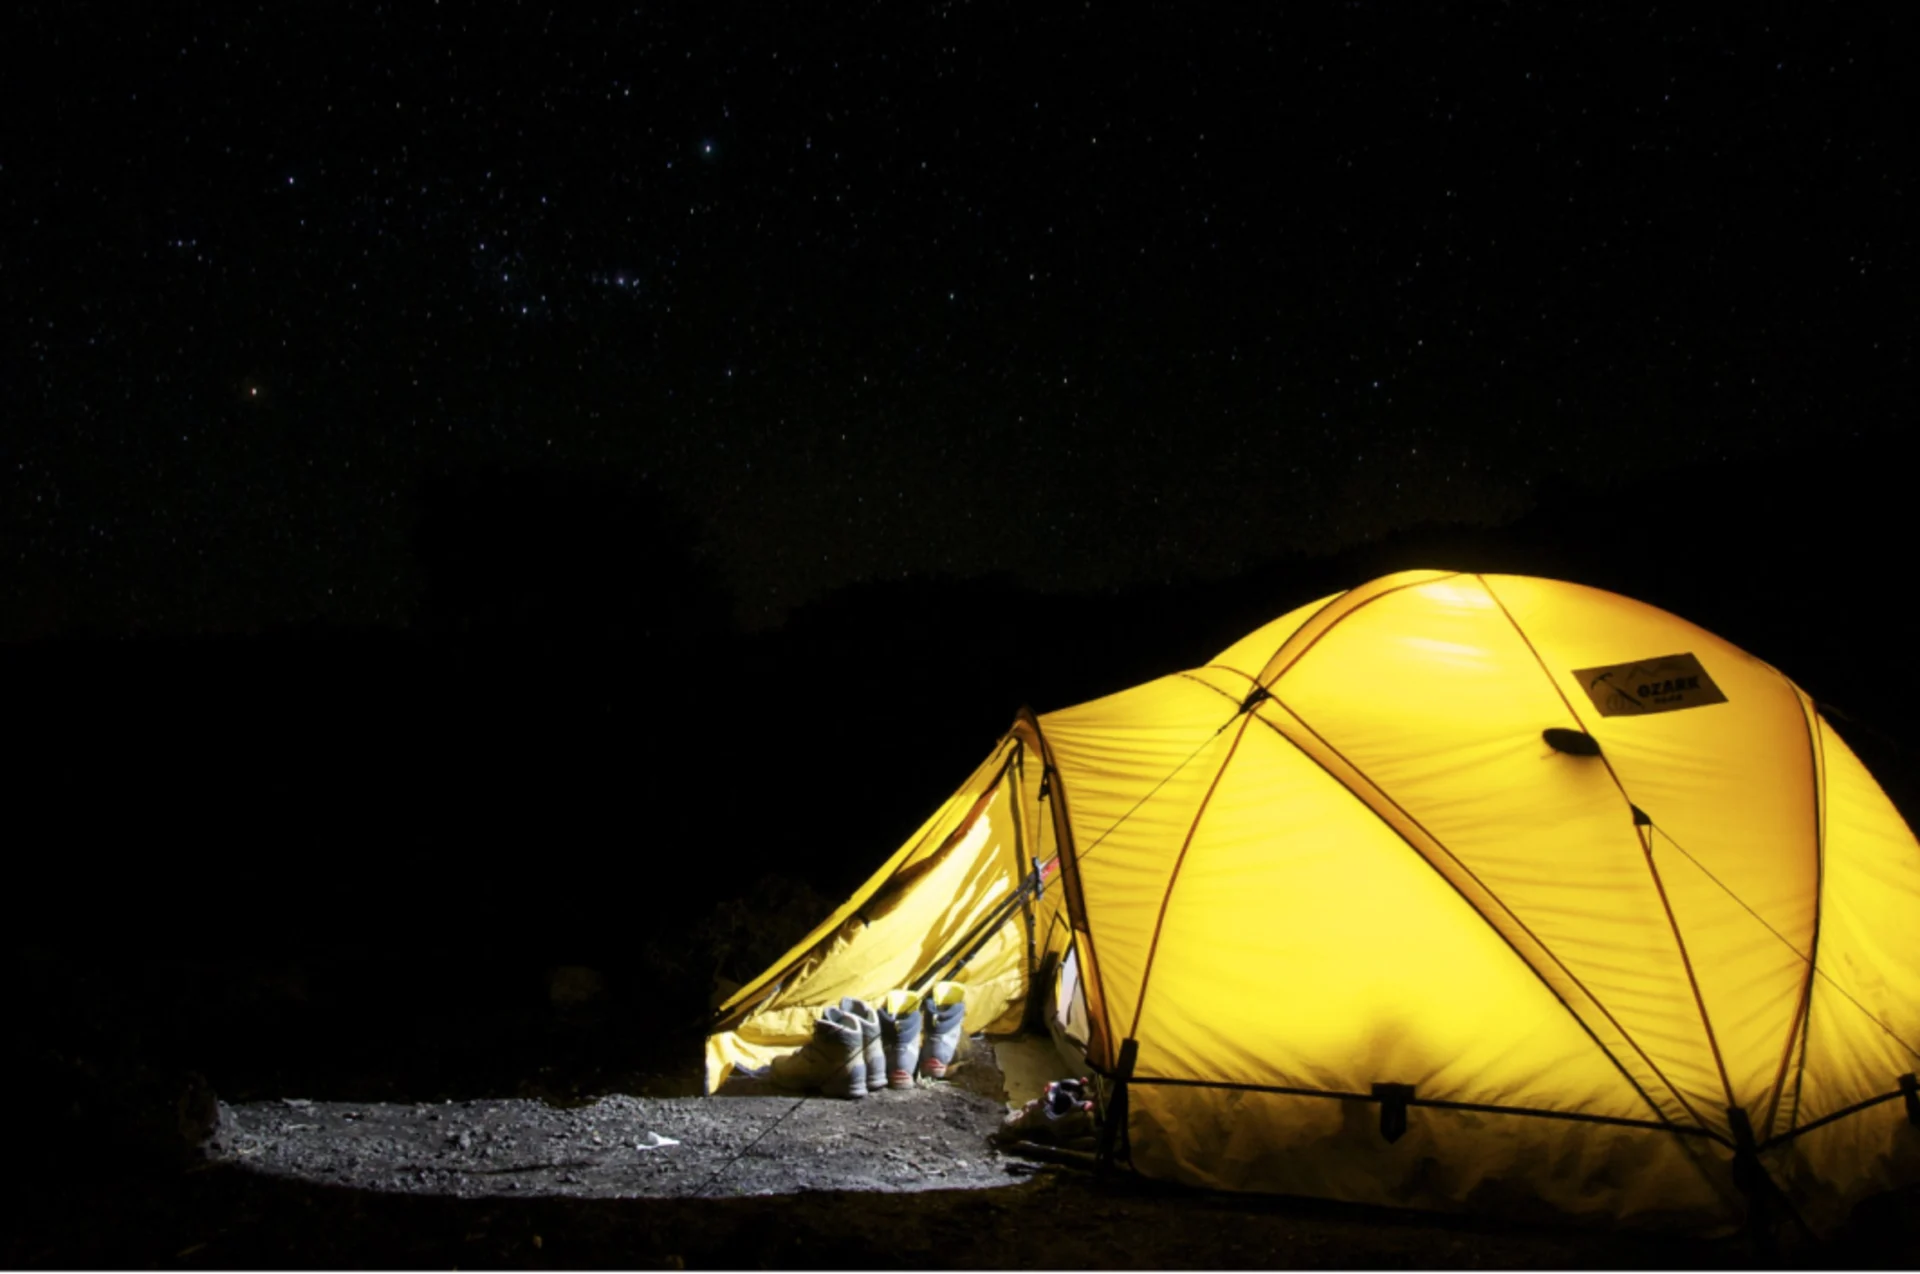
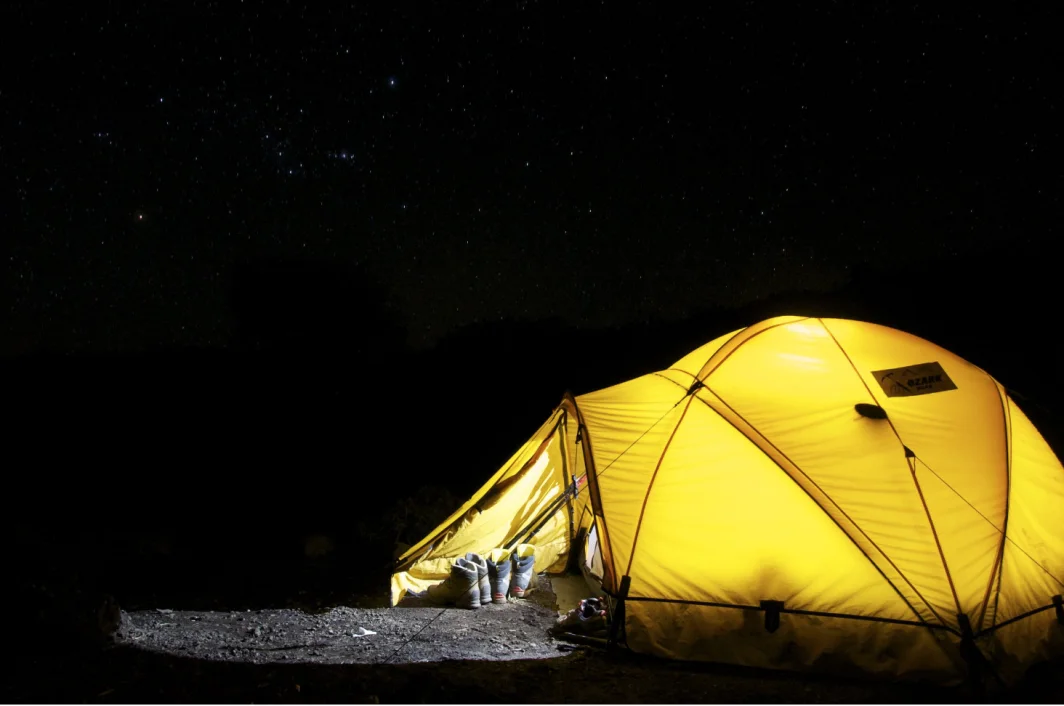
Let’s start with the tent. Depending on what part of the country you’re in, you’ll need different tent styles, but generally a two-season one with a decent fly will do. If there’s no chance of rain, and it’s warm enough, you can get away with a large sheet and some rope. The tent should be big enough to allow everyone to sleep comfortably but not so large it won’t fit into the backyard space you’ve got.
My tent sleeps five and has an extra vestibule in the front to store gear so there’s plenty of room to get the whole family in there. The biggest issue was fitting it into our backyard without flattening the gardens. I mostly got it done, but I think a few tulips met an early end.
SEE ALSO: Hand sanitizer and barbecues are a dangerous combination
Sleeping bags are a must, but you might be able to get away with dragging all the warm blankets you own into the tent. Just make sure the really nice duvets stay inside, dirt is going to happen even if you’re in your own backyard. It can get cold overnight in July throughout Canada, even in southern Ontario. You won’t need a winter bag, but a good spring/fall/summer one will work. If you get cold, you can always run inside for some extra blankets. When I set up my tent (as seen in the video above), the temperature dropped to -2 C and I was thankful to have my full Arctic bag. Hopefully, you won’t need anything like that.
Sleeping mats or air mattresses are great (I use both), but make sure there’s enough room in the tent for them. Sleeping mats will keep you warm as they act to keep you insulated from the cold ground, but they can be problematic for anyone who likes nice soft bedding. On the other hand, air mattresses can be great to sleep on, but can get cold as the air in them doesn’t serve to insulate very well. They can also spring a leak and you’ll find yourself eating your own knees. It really depends on your preference.
Unless you want to go all out, you won’t need things like a camp stove, bag showers, shampoo, soap etc. All of that can be found in your house (I hope) and it’s easy to drag the kids inside to get them cleaned up after a night of half-cooked marshmallows and smores. You can go halfway and use a BBQ if you’ve got one – just make sure that it’s well away from the tent. That goes for the firepit as well, but I’ll talk more about that in a bit.
Courtesy: PEXELS/Pixabay
Step 2: Getting Set Up
Make sure you’ve got a good flat area to lay out the tent. I often lay a large groundsheet under the tent to keep it from getting damp from the ground, but it’s not required. If there’s a chance of rain (or sprinklers), make sure that your tent location isn’t at the bottom of a drainage area or right on top of a sprinkler. The advantage of being in your backyard is that if things get really hairy (ie: thunderstorms) you can always flee back inside.
It’s also best to set up the tent in the day time. Since your commute to the campground is going to be quite short, you can time your set up and not get into situations like trying to set up in the rain while everything slowly gets dark enough to ensure that you drop the camp stove on your foot while the kids yell that they’re hungry from inside the car and when is dinner going to be ready and there’s two inches of mud covering the sleeping bag that you forgot was under the tree you contemplate fleeing to Mexico … No, that didn’t happen to me, why do you ask?
A fire is so much a critical part of camping, but you have to be somewhat careful about setting one in your backyard. Some regions have strict rules regarding fires in urban areas, so check with your local municipalities to see what restrictions are in place. I’ve found that general rule is that if you’ve got an enclosed structure, it’s ok, but again, check with your local authorities. If you can make a fire, it’s ideal to have some sort of fire pit lined with rocks to keep sparks from igniting dry grass or parts of your garden.
Step 3: Have Fun!
Once everything is set up, it’s time to have some fun. One of my favourite things about camping is the hiking. It’s not as easy to find good hiking trails around your house, but even a walk around the neighbourhood can get you some good potential wildlife sightings. Have the kids look for urban creatures that you might not have realized are there; bees, beetles, squirrels, there’s an extensive and surprisingly complex ecosystem in cities.
Camping just wouldn’t be as good if there isn’t a fire and that means toasted marshmallows and s’mores. Both are easy to do and while potentially messy, having a shower close by is always good. You will appreciate your kids not sticking to the sleeping bag. If you can’t have a fire, a BBQ can substitute, it just won’t be quite the same. It will still work though! Roasting sticks are easy to find, but you can also buy metal versions from various camping stores.
So, get out there and have some fun! It’s a great way to get out of the house without having to do all the annoying travelling, setting up tents in the rain, and all that other good stuff. Instead, you get to have all the awesomeness of camping with all the amenities of home.
What could go wrong?
Be sure to watch the video that leads this article for a full demonstration of how to camp in your backyard! And if you try this at home, be sure to share your photos and videos with us!


